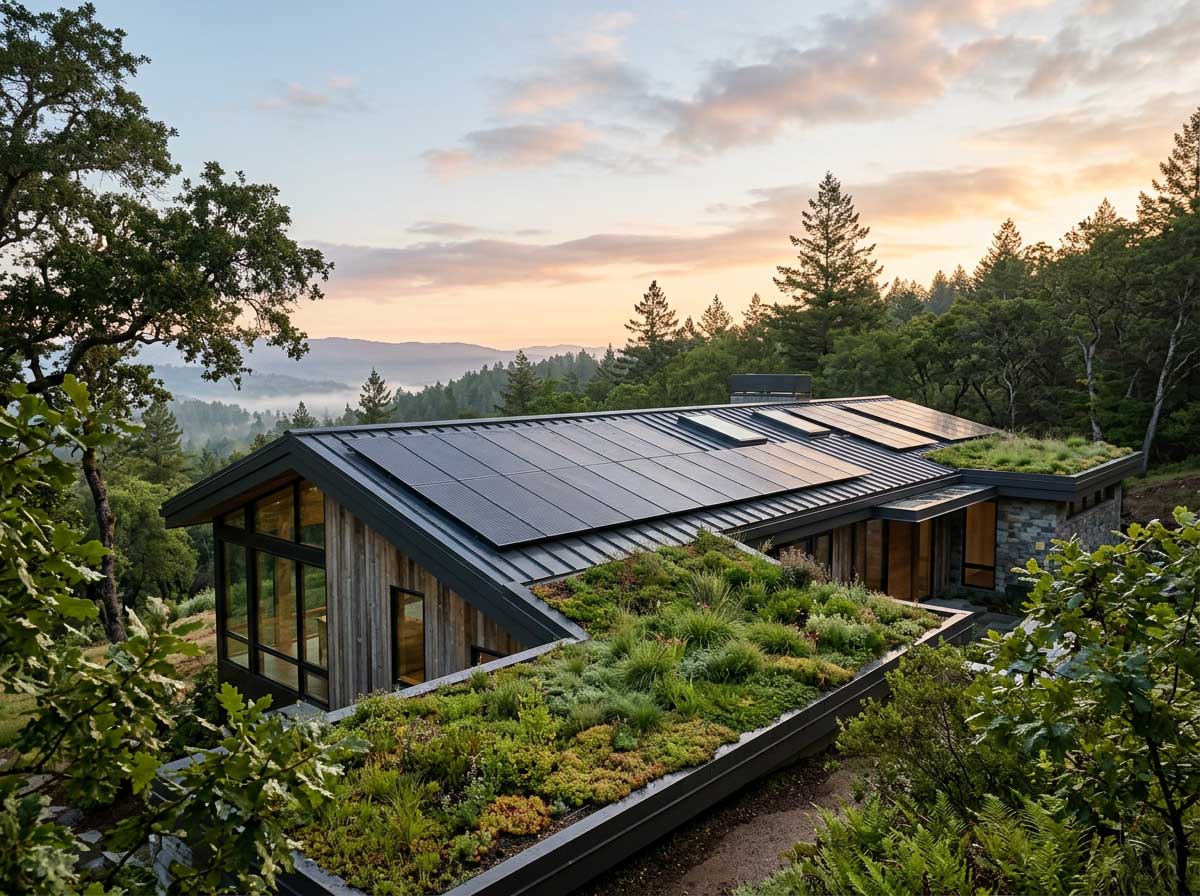
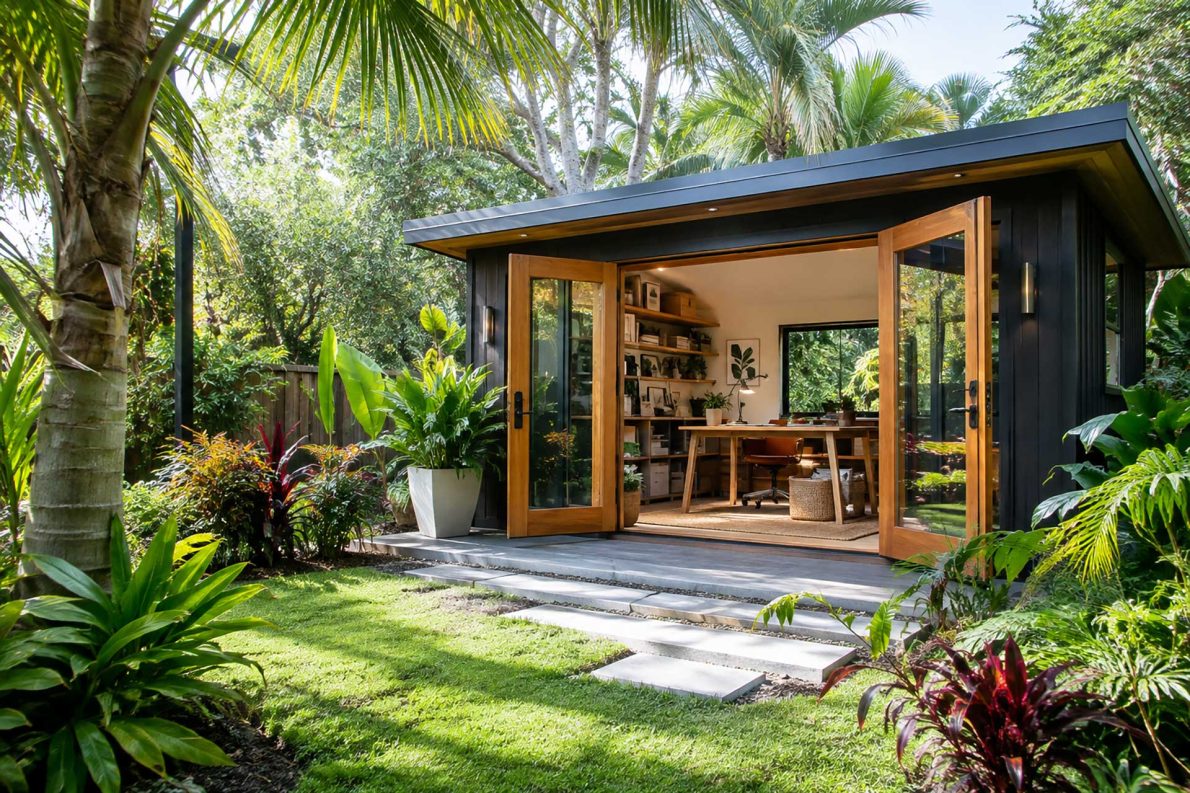
An outdoor studio can add useful work space without sacrificing the garden that made your yard appealing in the first place. The key is to treat the structure, access route and surrounding plants as one project. Before ordering materials, consider how you’ll use the room throughout the year and what construction work the site can handle.
A careful plan can reduce soil damage, protect established landscaping and give you a studio that feels connected to the yard. Thoughtful consideration of your studio’s layout and its relationship to the outdoors can significantly enhance your daily workflow and overall workspace productivity.
Map Out Your Ideal Workspace
Start by measuring the available area and marking the proposed studio footprint with stakes and string. Include space for roof overhangs, drainage and a comfortable path to the entrance. Step inside the marked area with a chair to check sightlines, privacy and the distance from your home.
Your work habits should guide the layout. A design desk may need an uninterrupted wall, while a consulting space could benefit from a separate visitor entrance. Browse these backyard workspace ideas to compare practical configurations. You can also review modern studio styles before settling on exterior materials and roof shape.
Check local planning rules early. Setback limits, maximum heights and permit requirements can affect where the studio sits, even when the building has a modest footprint.
Check for Hidden Underground Lines
Confirm what lies below the proposed site before any digging begins. Utility plans provide a helpful starting point, but they may not show private connections, old drainage lines or services installed outside their recorded positions. A specialist locator can inspect the area and mark potential conflicts on the ground.
If a buried service needs to be exposed on a construction or maintenance project in the Coffs Harbour region or NSW North Coast, hydro excavation is a method that uses pressurized water and vacuum equipment to remove surface material in a controlled way. This can reduce unnecessary disturbance around the target area.
Mark utility routes, tree roots and irrigation pipes on your site plan. Position footings away from these features where possible, and tell every contractor about the markings before work starts.
Choose Low-Impact Foundation Options
Match the foundation to the studio’s size, local soil and intended lifespan. Ground screws or helical piles can support some lightweight studios with less excavation than a full concrete slab. Pier foundations may also leave more soil uncovered, helping water continue to move through the site. Any option still needs professional assessment to confirm its load capacity and suitability.
Protect nearby ground during construction. Ask contractors to use one designated access route and place temporary mats over lawns that must carry equipment. Store excavated soil on a tarp so it doesn’t smother grass or mix with decorative gravel.
Plan drainage at the same time. Direct roof water toward a suitable collection or dispersal point, keeping runoff away from neighboring properties and the studio base. Avoid changing the natural grade more than necessary.
Prioritize Natural Light and Comfort
Place windows according to the sun’s path, glare and views rather than exterior symmetry alone. Soft daylight from a well-positioned side window can make a compact studio feel open, while direct afternoon sun may overheat the room. Roof overhangs, exterior shades and nearby deciduous planting can help control seasonal heat.
Plan electrical outlets, task lighting and ventilation before closing the walls. A quiet ceiling fan or operable window may be enough in mild weather, though an insulated structure will remain comfortable across a wider range of temperatures. Use low-VOC finishes and add acoustic insulation if you expect regular calls.
Your desk placement matters too. Keep the screen perpendicular to the main window to limit reflections, then use the practical ideas in this guide to optimize your workspace design for comfort and productivity. Leave enough floor space to adjust your chair and reach storage without squeezing past furniture.
Once the studio is complete, restore compacted soil along the access route and replant bare areas with species suited to the site’s light and moisture. A narrow gravel path, a few carefully placed plants and controlled roof drainage can make the new building feel like part of the garden from day one.