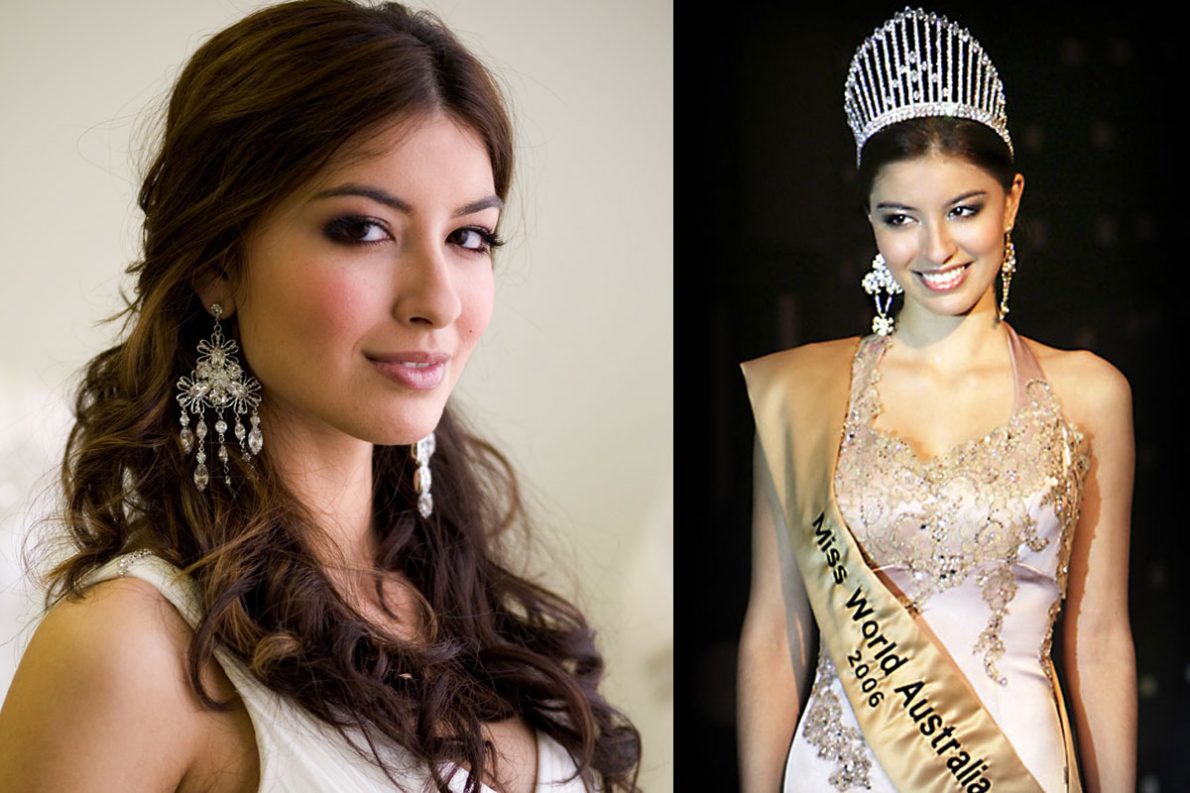
In 2006 I was the makeup artist and supplier for Sabrina Houssami, Miss World Australia, Miss Asia Pacific and 1st Runner Up Miss World. I only mention this as she was an Australia of Lebanese and Indian heritage, with dark chocolate eyes, that looked stunning with a smoky eye.


I did this smoky eye on her many, many times throughout that year, with variations on the theme (different colours, glitter etc). I became quite quick, and by the end of that year, perfected the art of the smoky eye. Here are my tips for a simple smoky eye:
- If you are a beginner, apply concealer to the lid and a little under the lashline of the bottom lashes, to create a base, a blank canvas if you will. Use a beauty blender, slightly damp for this.

ModelCo Magic Makeup Blender - With a shadow brush (like the Charlotte Tilbury Eye Blender, pictured 3rd below) apply a “wash” of concealer across the eye lid and brow in a neutral shade in darkness you want a light/mid tone. This is your base colour. Something that is beige or taupe (once you perfect it, you can try other colours), blend across lid and up to the brows. The Nude Tude Palette from The Balm is a great palette for smoky eye makeup.

Eye Brushes by Charlotte Tilbury 2. Then, take the same brush and apply a colour to the crease (if you keep you eyes open and look down your nose you can see where to apply to the crease in the mirror. For different eye shapes, you can refer loosely to my diagram below:

Makeup for different eye shapes by Di Kennedy - Using that same brush build up a deeper colour on the crease with the focus on “up and out” so you blend a little above the crease, using a windscreen wiper motion to blend the shadow easily.

The Balm Nude Tude Eyeshadow Palette - Now this is the scariest part, but remember, practice makes perfect and, at the end of the day, it’s only makeup. You can wash it off of it doesn’t happen easily. It’s not hard though, you just need to blend blend blend, using the right eye shadow. For this there are plenty of great shadow palettes with matte smoky shades, Maybelline, L’Oreal, but my go to for smoky eye shades has to be the Urban Decay Nake Palette (I like the 3rd version for my blonde hair with blue eyes, but the 2nd one is perfect for more olive and deeper complexions). pat the brush, loaded with a small amount of a matte dark shadow (you use matt because a shimmer is a contradiction, as light reflective “lifts” shadows, whereas matte absorbs light and enhances contours). Apply to the outer 1/3 of each eye and the top with the pointed Shadow Smudger (see the Charlotte Tilbury’s brushes above for the right shaped brush). Once you have accomplished the top of the lid, load your brush up with more deep shadow and blow of excess (this is a method for avoiding “fall out” where the shadow ends up under the eye. Pat this shadow, close to the lash line from the outside in for only 1/2 way across. Blend well.

Clarins Eye Quartet Mineral Palette / Ombre Mineral 4 Couleurs #11 Forest - Take an angled liner brush and dampen, slightly with cakeline sealant (or water), and then dip into your deeper coloured shadow and push the colour into the lash line on the top 2/3 of the outer eye corner and 1/2 of the lash line on the bottom. Wait until dry and blend with the smudger brush.

napoleon perdis cake liner sealer - With a new eye shadow brush (about 1cm wide and cruelty-free of course!) and using a shimmering shade, pat onto to inner 1/4 of the eyelid and blend the edges just only enough to soften.
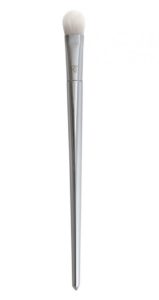
Real Techniques bold metals collection #200 oval shadow brush - Take the eye smudger (preferably a new brush, but otherwise cleaned first so dark shadow doesn’t end up in the wrong place) and pat this same light shimmering shade onto inner eye corners.
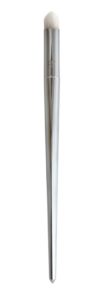
Real Techniques bold metals collection #201 pointed crease brush - Using an eye pencil apply liner in a deep colour to the waterline (inner rim) top and bottom.
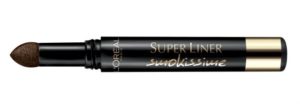
Loreal Paris Superliner Smokissime #102 Brown Smoke 8g - Add lashings of black mascara to top and bottom lashes, using 2 – 3 coats.

Maybelline Volum’ Express Lash Sensational Washable Mascara – Blackest Black - Lastly, if you want to add extra oomph, try using some false lashes. I will do a tutorial on how to apply soon!
To dress this up you can use different shadow colours, such as greys and blacks with silver, or a blue based look. You can also ad bling with glitter on the inner eye corner.
Most of the products mentioned on this post are available using the links below. These are affiliate links (links that track where a visitor has come from. I signed up for the affiliate program so I can send people to the right places for their products, and the company I am sending it to can see it is from my blog.
Voila. It sounds harder than it is. If you would like a video tutorial on how to do this, let me know! I’d love to hear from you if this was helpful : )
Save

