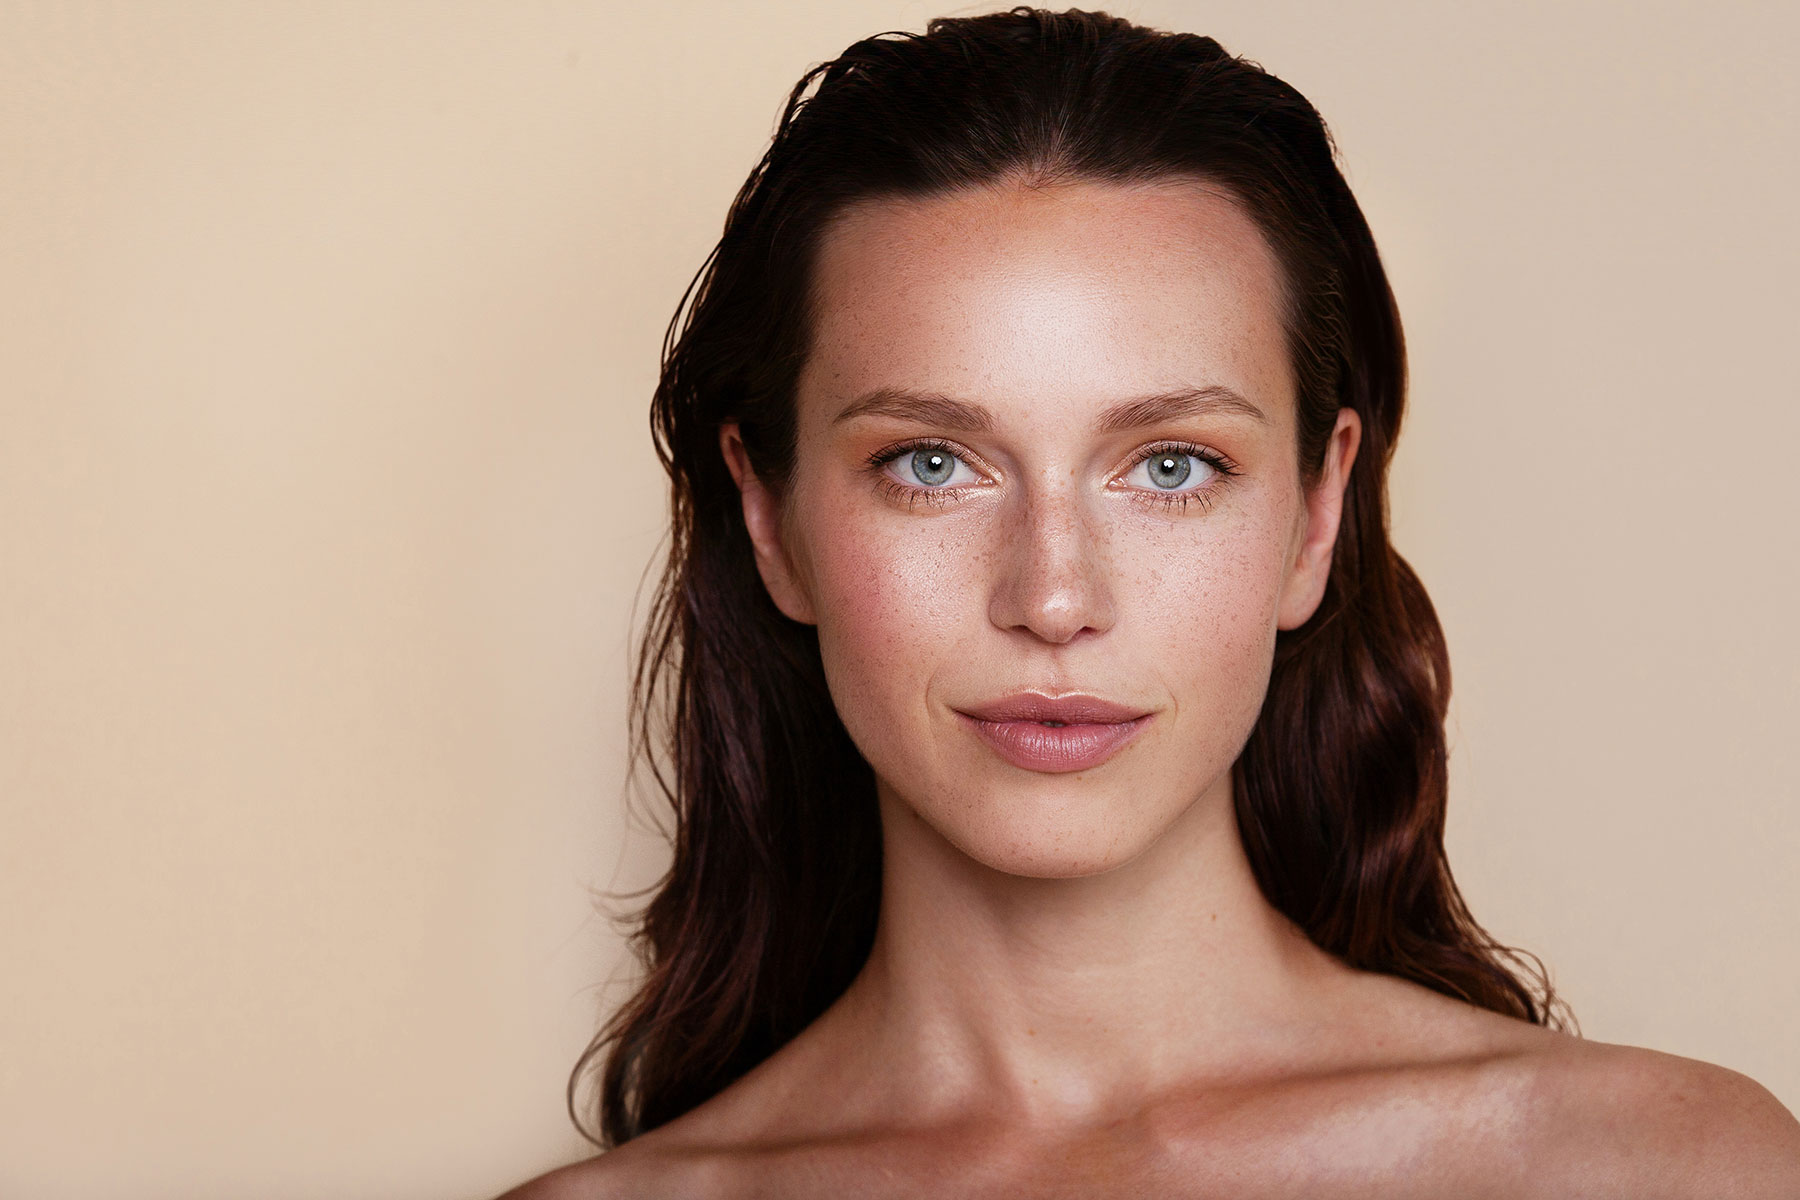
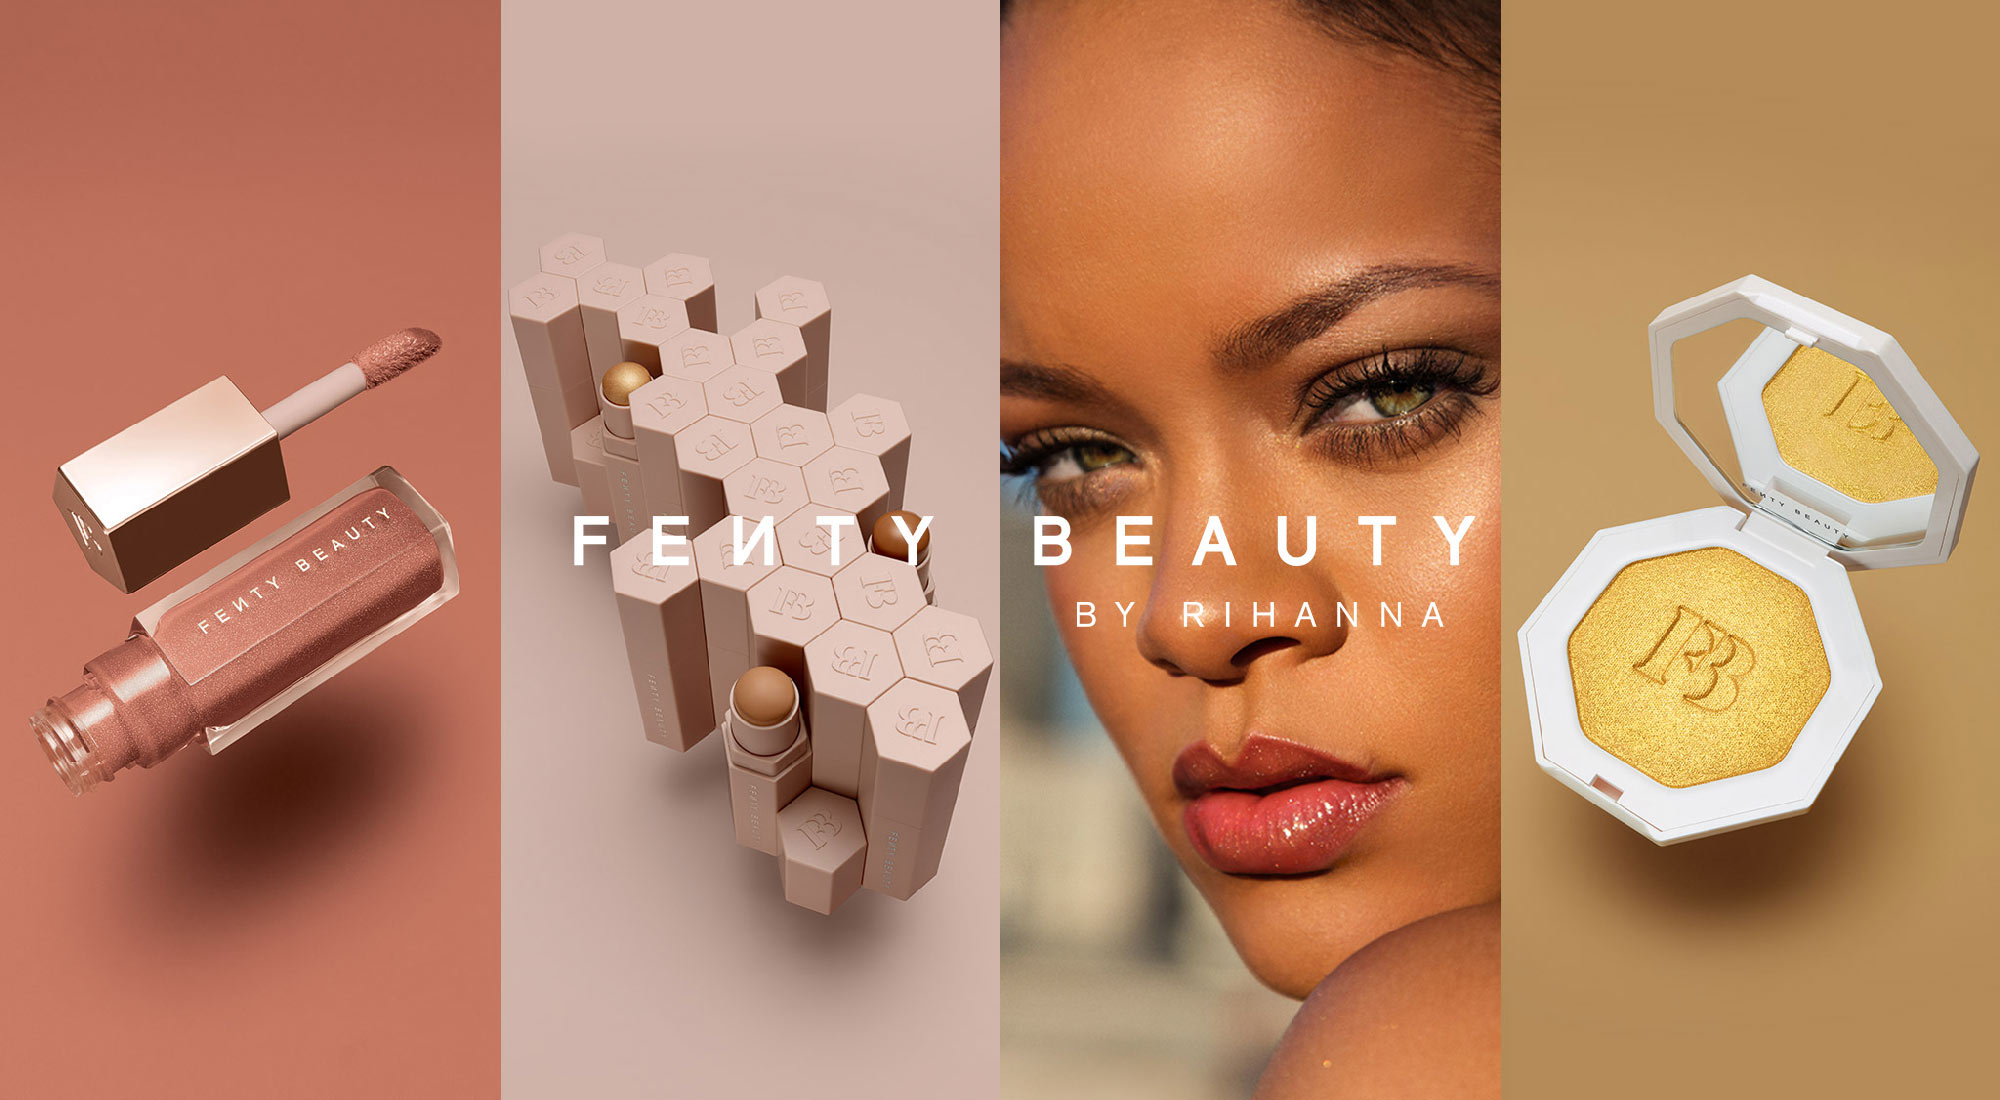
This is a guide to layering your make up for a luminous glow using layering or “glazes” that looks like it comes from within, not from a palette.
The issue with highlighter is that we makeup addicts are so obsessed with it at the moment, that there is just too many choices and too much on everyone’s face on social media. It’s getting crazy. It makes me want to go back to matte. As the official makeup artist and makeup supplier for Miss World Australia (many years ago) I had to come up with pageant ready makeup. This includes a technique that involved layering.


Layering in makeup
I developed this technique from my classical training in oil painting at art school. Artist using oil paints often use a process called ‘glazing’. This involves the layering of semi translucent tints of colour on top of a dry “underpainting” of deeper colour, to build up a multi-dimensional look. It is wonderful for skin and fabric and glazing creates, an extraordinary luminosity.
This is not to say you need a trowel to take it off. You only use tiny amounts to build the glow.
I don’t create a contour and highlight look all in one layer with a set of either powder or cream products.

Foundation
I carefully start with a base of a foundation that is the same colour as the decolletage for ease of blending. I prefer to use a foundation with an ‘elastic’ finish that doesn’t dry chalky (I like the L’Oreal True Match for this, due to its build ability and flexibility, but there are some high end foundations that are also like this, such as the Amarni Luminous Silk and the Chanel’s Vital Lumiere. I just find the L’Oreal True Match foundation works so well for the layering or glazing technique.
Concealer
I then applied a cream concealer, nothing revolutionary here, and blended it out, so fixing under eye circles, nostril area, chin, and any spots. Do not use powder to set it, yet. You can pat out any creases later.
The next few steps are vital to do in order or your makeup will end up looking caked on. Always remember, apply liquids, creams or crayons first, then apply powder. If you try to put liquids/ creams over powders your makeup will look caked on. The key to layering for luminescence is to build up very light translucent layers, of colour and shimmer in creams/ liquids first, then do the same with powder. It not only looks flawless, but it also lasts all day/night.
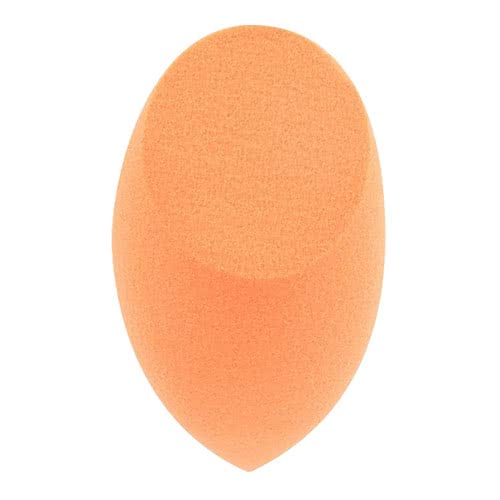
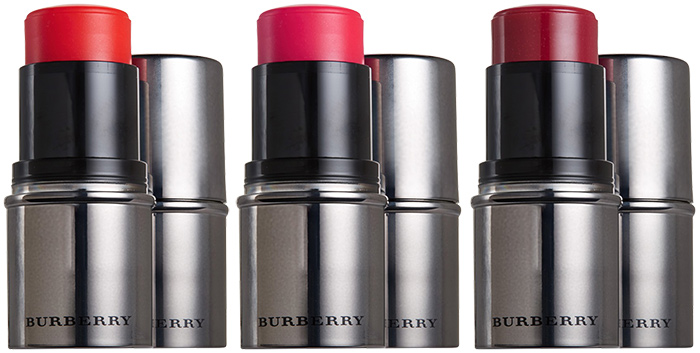
Use a cream/tint or stain type of blush on the apples of the cheeks. Only use a tiny bit and have several of the Real Techniques Miracle Complexion Sponges on hand for each product. Choose from:
Women’s Benefit Benetint Mini Rose Mini

Stila – Convertible Colour – Rose

Fresh Glow Blush – Pink Peony No.02 (left)
I use a taklon/synthetic foundation brush, to pat on this colour and blend it out carefully. Use only a very thin layer.
Cream contour
If you have a foundation about 3 – 4 shades deeper than the skin colour, use a beauty blender to apply a very thin layer) of this to the sides of the forehead and top of the forehead closest to the hair line. Then shape the cheek bones by applying to the hollows of the cheeks blending so you cannot see where the line starts. You can also use on the sides of the nose, and under the jawline to minimise a double chin.

 Cream Highlight
Next you want to pat gently onto the face, in the following areas, the beauty blender is good for this too: the cheek bones, cupids bow, brown bones, middle of forehead, bridge of nose (if you have a small nose and not enlarged pores) and the edge of the jawline. You might also want to pat onto collarbones as well. Remember, it is supposed with be a sheer layer. Visible when you move in the light but imperceptible when out of the light.


Light – Iridescent $9.99 AUD – click product image to buy (non-affliate)
Just check and even out an concealer under eyes with your Real Techniques Miracle Complexion Sponge (see link above to buy) and then apply the lightest touch of Jurlique Rose Silk Finishing Powder (pictured below) or e.l.f. e.l.f. cosmetics High Definition Powder (below too) to set the under eye area, but the older you are the less you should use. Powders can make mature skin look crepy and exaggerate lines. Anyway a very light dusting over the rest of a face with a big fluffy brush. I use the Real Techniques Bold Metals 100 Arched Powder Brush, pictured below.
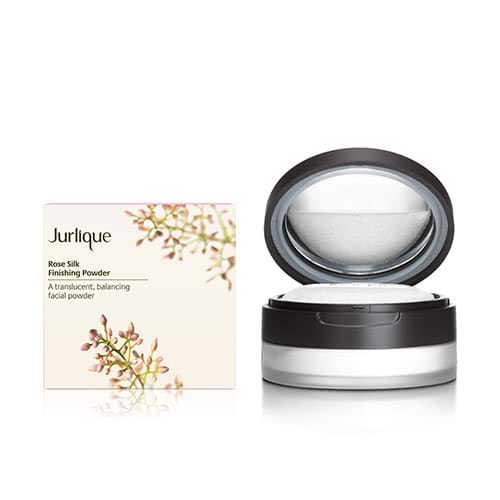

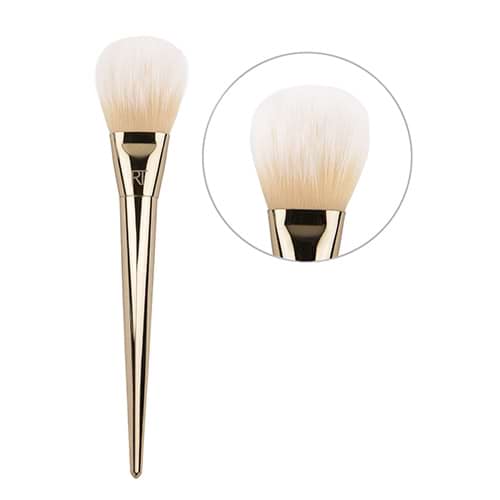
Powder contour
You will need to find a cool, matte bronzing powder or a pressed powder slightly darker than your foundation, to carve out, with a very light touch, the hollows of your cheeks, chin, cleavage, sides aand top of forehead and the sides of your nose. Any area that you want to “push back”. It is important that this is not shimmery, as that will counteract the effects of the deeper shade. The palette below has the perfect contour colour, as well as beautiful blush and highlighter, so you can use this for the next 2 steps as well. Apply with a fan brush with a very light touch. The fan brush will apply the colour precisely but very finely. There is also the cult Nars Edo brush that all the youtubers swear by but it is $90 RRP.
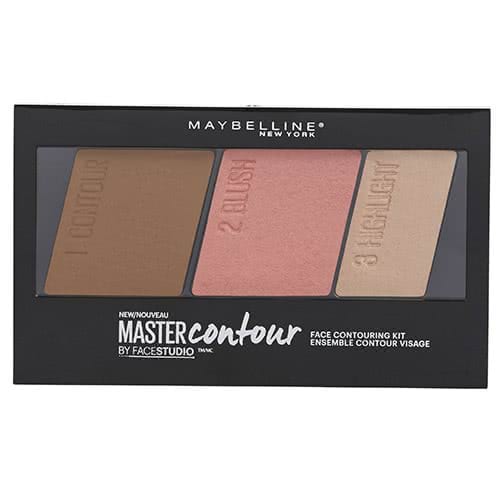
The Powder Highlight/Blush/Contour Tools

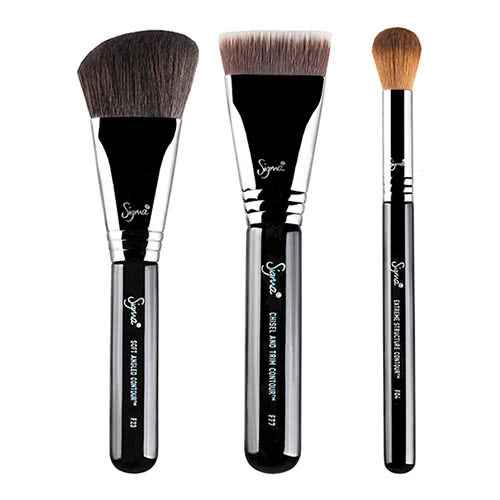
This Sigma brush set is professional quality, and will have you covered for the blush, contour and highlight, for years, so I encourage you to invest in good brushes. I don’t want to recommend cheap brushes.
Blush
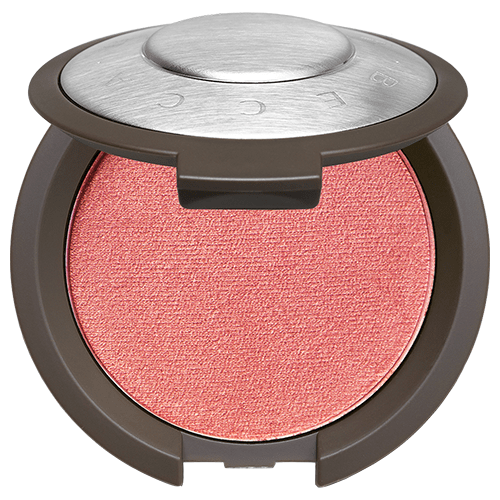
Apply a very featherlight amount of blush if you are using the high quality Becca Blush, a liittle goes a long way. For a universally flattering shade use the blush in the Maybelline Palette above, or for a longer, lasting high pigment petal pink with flecks of gold, use Becca Luminous Blush in Flowerchild. Brush softly onto the apples and blend up towards your cheekbones. Keep soft and subtle.
Powder Highlighter
This is literally the frosting on your face. The key here is not to use too much. It’s tempting I know, but it will look better of people just think you are naturally luminous, now “wow that’s a really bright highlighter!”.
Using a small brush, apply to the top outer part of the cheek bones, subtle is the key. Then a swoosh in the middle of the forehead (the brush on its side) and blend out. If you must a tiny bit on the bridge of the nose, then cupids bow and chin and jawline. Keep it super subtle and super sheer.
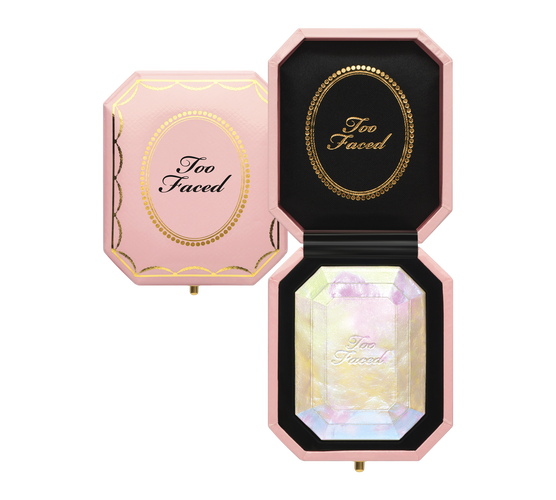


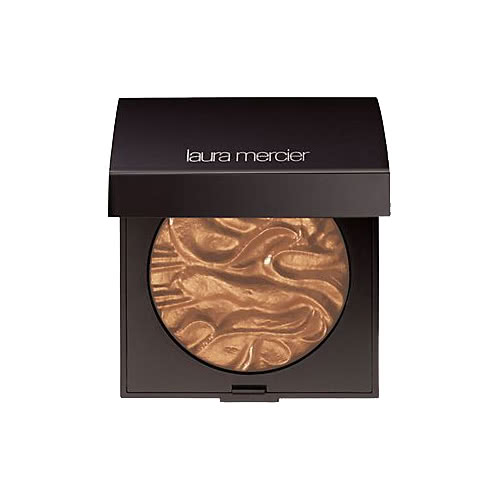
So folks there you have it. A full rundown of beautiful holiday season products.


