Image Credit: Unsplash
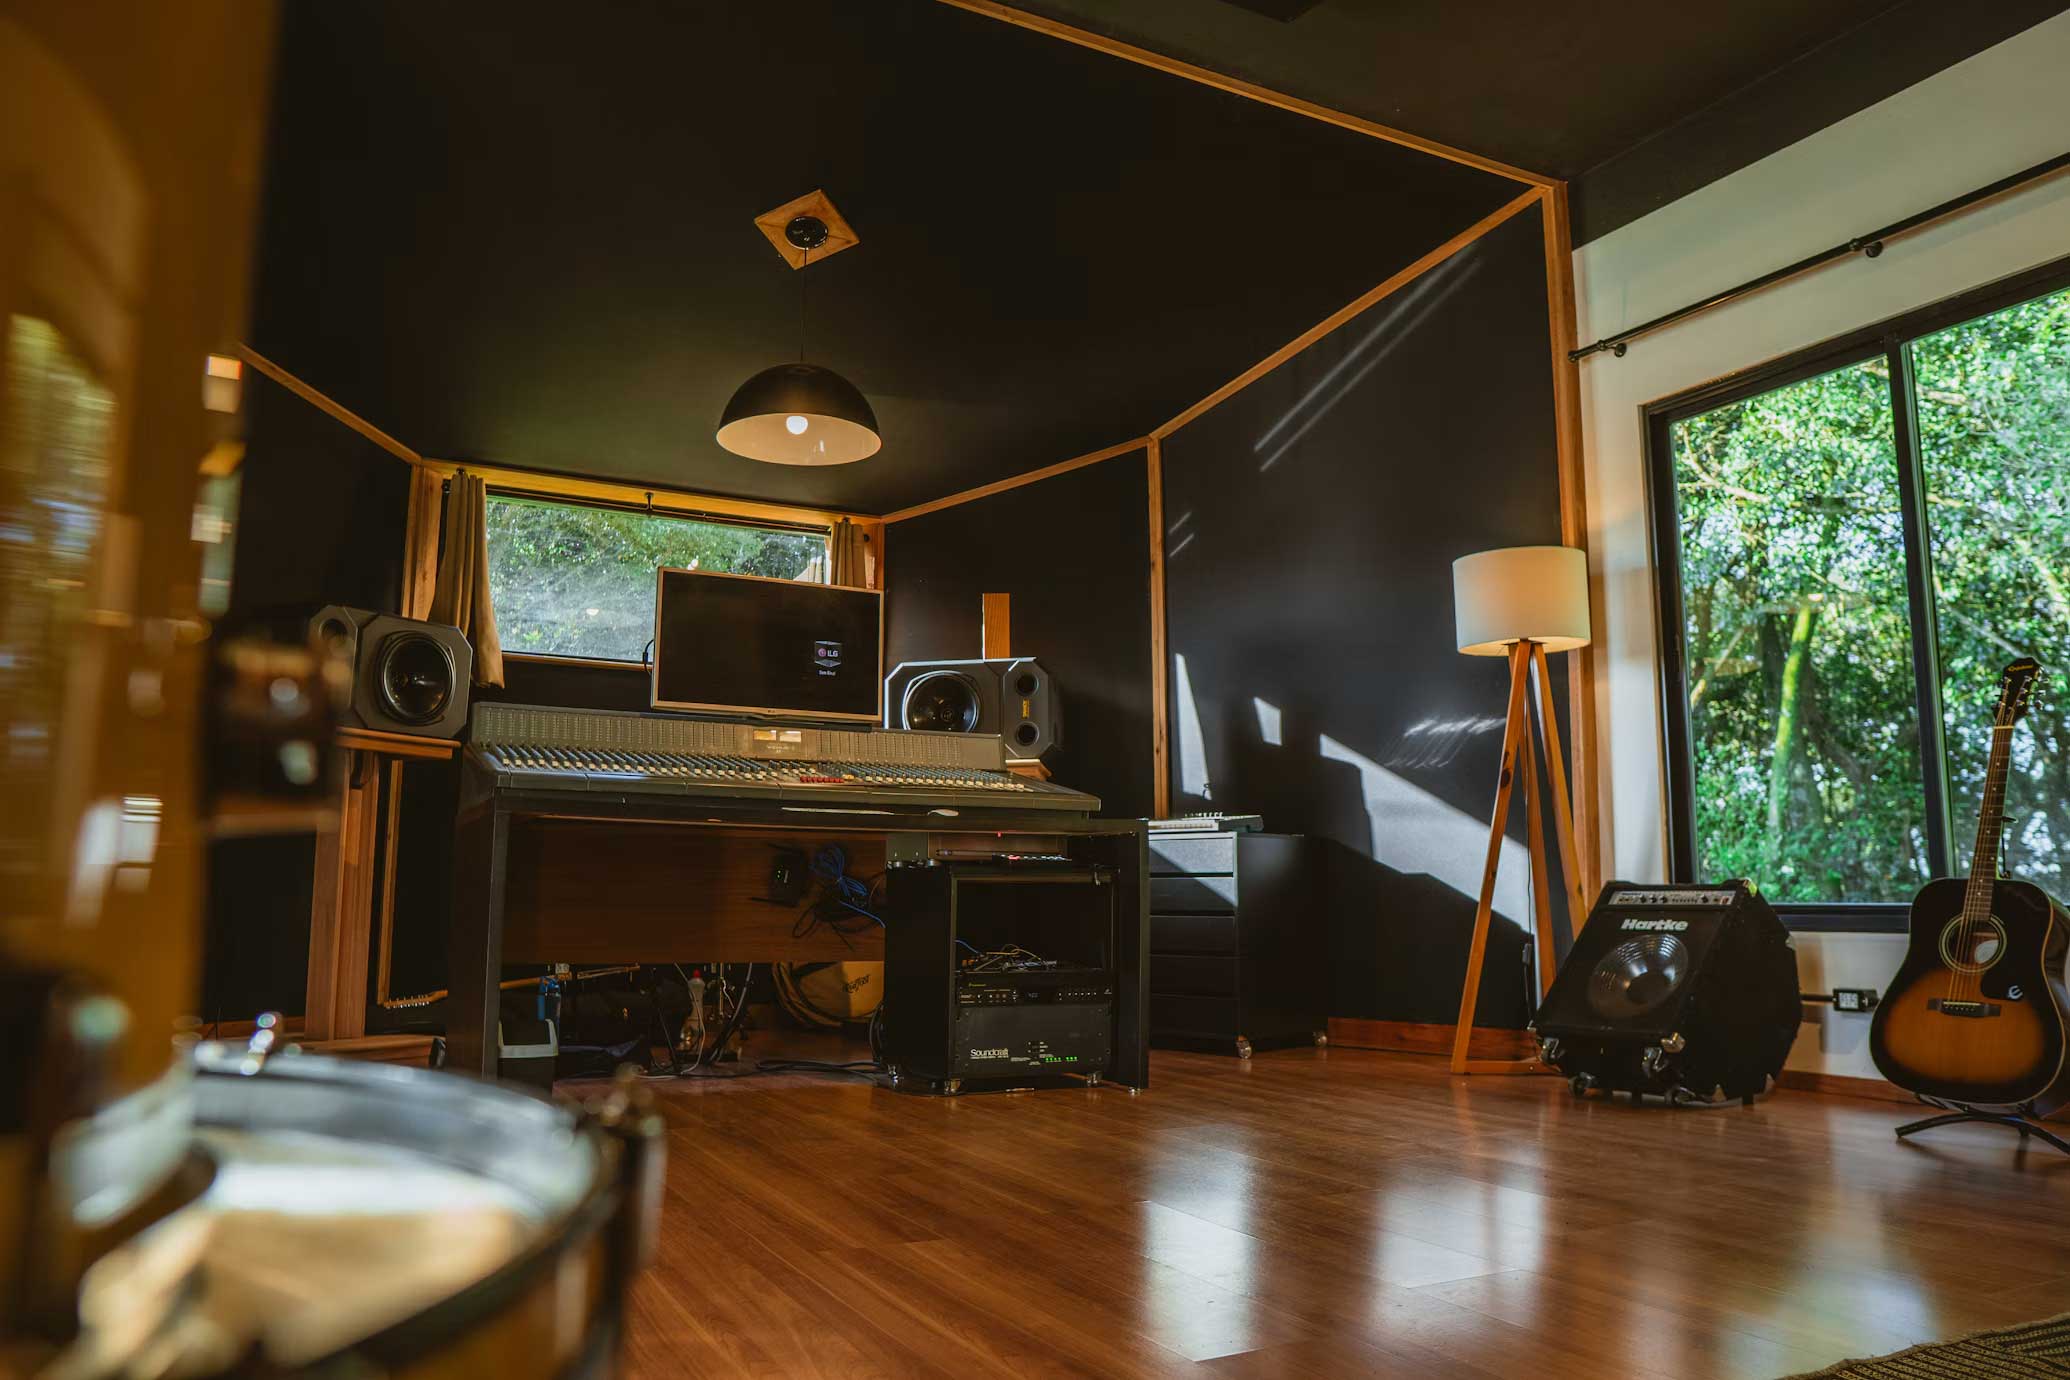
A productive home studio starts with a clear purpose, thoughtful lighting and a layout that supports the way you create. You don’t need a spare room or an expensive renovation. A quiet corner, a compact desk and a few carefully chosen materials can give you a dependable place for writing, drawing, recording or editing.
Start by noticing what interrupts your concentration now. Poor light, visual clutter and household noise often have practical fixes. Once those friction points are under control, the studio can feel inviting without becoming so comfortable that you lose momentum.
Define Your Dedicated Creative Zone
Choose the smallest area that comfortably holds your essential equipment. This could be an entire room, one end of a guest bedroom or a desk fitted into an unused alcove. A fixed location helps your brain associate that area with focused work, especially when you use it at roughly the same time each day.
Measure the available floor and wall space before buying furniture. Allow enough room to pull out your chair, open cupboards and reach frequently used materials without moving other objects. A desk between 60 and 80 centimetres deep will suit many creative tasks, though larger artwork or audio equipment may require more surface area. This home studio guide offers useful pointers on assessing a room and arranging equipment for beginners.
Give the zone a visible boundary if it shares a room. A rug can define the floor area, whilst an open bookshelf or folding screen provides gentle separation. Keep the boundary light enough that the room still feels open.
Arrange your desk according to the activity you do most. A writer may prefer a clear surface facing a wall, whilst an illustrator needs room to spread out paper and reference material. Store everyday tools within arm’s reach and move occasional supplies to labelled boxes on a nearby shelf. At the end of each session, spend two minutes returning everything to its place. That small reset gives you a clean starting point next time.
Master Natural Light Control
Position your main work surface beside a window where possible. Side lighting reduces screen glare and gives artists a clearer view of colour and texture. If you’re right-handed, light entering from the left can also prevent your hand from casting a shadow across the page. Left-handed creators can reverse the arrangement.
Daylight changes in strength and colour throughout the day, so the ability to control it matters. Adjustable shutters and blinds can help homeowners in Campbelltown filter strong afternoon sun, limit reflections and manage privacy without keeping the studio dark all day. Test the room at the hours when you usually work before choosing a covering. Direct sun at 3 pm may cause problems that aren’t visible during a morning inspection.
Use layered artificial light to fill any gaps. Start with a soft ambient ceiling light, then add a movable task lamp over the desk. A colour temperature of around 4,000K often provides a neutral working light, whilst a lamp with a high colour rendering index helps paints, fabrics and printed images appear more accurate, and you can find more bright ideas for adding natural light to your home. The practical advice in this studio lighting setup explains how key, fill and background lights can work together for photography or video.
Check your setup through a phone camera as well as with your eyes. Cameras may reveal harsh shadows, reflections or colour casts that seem less obvious in person. Move one lamp at a time, take another test image and stop once your face or work surface looks evenly lit.
Image Credit: Unsplash
Choose Tactile and Calming Textures
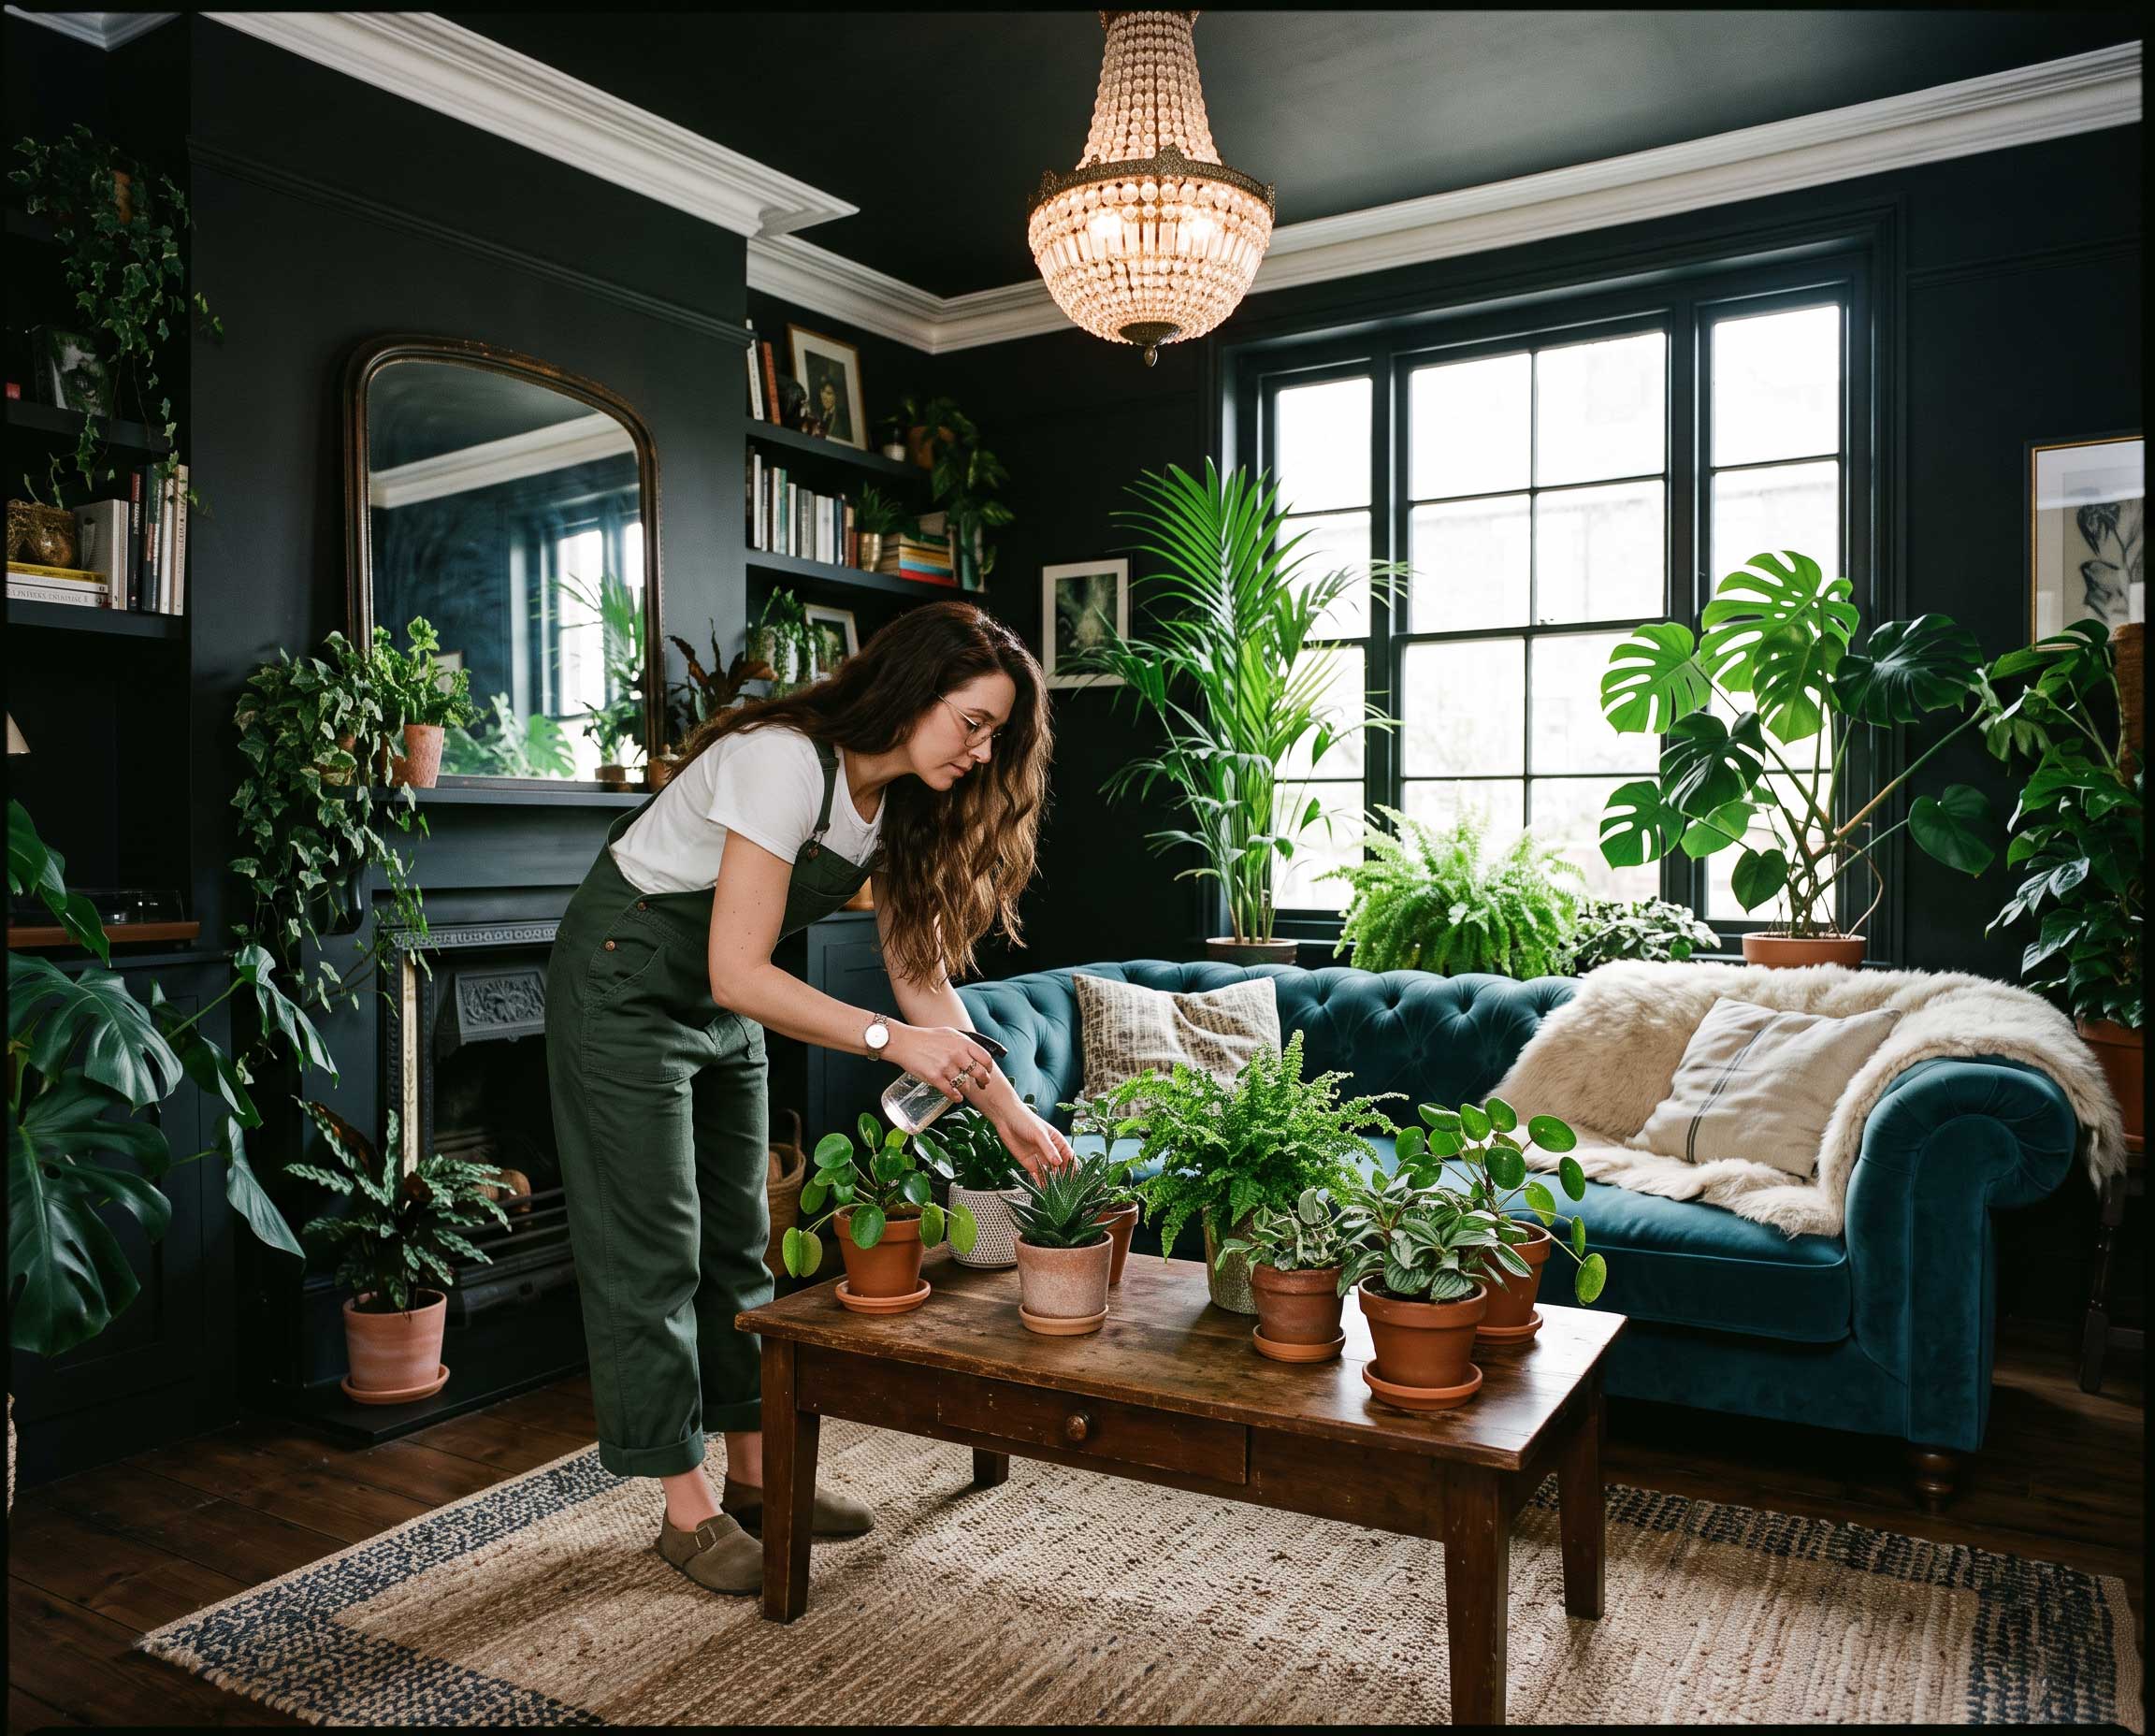
Texture can make a studio feel settled without filling it with decorative objects. Natural timber, woven storage and a fabric-covered chair introduce warmth whilst keeping the room visually quiet. Choose two or three related materials and repeat them across the space. A pale timber desktop, cork pinboard and linen curtain, for example, create interest without competing for attention.
Start with the surfaces you touch every day. Your chair should support an upright posture and let your feet rest flat on the floor. If the seat feels firm after an hour, add a thin cushion that doesn’t push you too far forwards. A wool or low-pile rug can soften sound and make a shared room feel more contained, though smooth flooring is easier to clean if you regularly use ink, clay or paint.
Wall finishes also affect the way you see your work. Bright white paint can reflect a large amount of light, whilst a soft off-white or muted neutral may reduce glare. Artists who need reliable colour perception should avoid strongly coloured walls near the main work surface. This guide to art studio lighting explains how reflected colour and the direction of illumination can affect what appears on the canvas.
Add only a few personal objects. One framed print, a small plant and a tray for current tools can make the studio feel like yours. Rotate finished work instead of covering every wall at once. Leaving some blank space gives your eyes somewhere to rest and makes the piece you’re currently developing easier to assess.
Acoustics deserve attention too. Curtains, upholstered furniture and rugs absorb some echo, which can make calls and recordings sound clearer. In a very bare room, even a filled bookshelf can break up reflected sound and create a calmer atmosphere.
Keep Digital Distractions at Bay
Decide which devices genuinely support your work and remove the rest from the desk. If your phone serves as a timer or reference camera, place it on a stand behind the monitor and turn off non-essential alerts. Otherwise, leave it in another room for a planned 30 or 45-minute focus period. Physical distance is often more effective than relying on willpower every time a notification appears.
Create a separate digital workspace as well. Close personal email, social media and shopping tabs before you begin. Use a dedicated browser profile for creative work, with bookmarks limited to current projects and useful reference tools. Full-screen mode can help when writing or editing because it removes visual prompts to switch tasks.
Keep the physical equipment simple. Position your monitor so the top edge sits at or slightly below eye level, then place the keyboard where your shoulders can remain relaxed. Route charging cables behind the desk with reusable ties and label any similar leads. A tidy cable arrangement makes cleaning easier and prevents small technical frustrations from interrupting a session.
If you create video or photographed work, plan the camera frame before adding furniture and accessories. A minimal studio composition keeps attention on the subject and reduces the number of background details you need to manage. Mark tripod and chair positions discreetly with removable tape so you can rebuild the same setup quickly.
Finish each work period with a short shutdown routine. Save files to clearly named folders, back up the day’s work and write down the first task for your next session. Then switch off task lights and close the laptop. Those simple cues give the studio a defined rhythm and make it easier to return without spending the first 20 minutes deciding where to begin.
The best test of your home studio is a normal working week. Notice where glare appears, which tools drift across the desk and when outside noise becomes distracting. Make one adjustment at a time and give it several sessions before changing something else. A studio that supports your actual habits will stay useful long after the room’s freshly arranged look has faded.